-40%
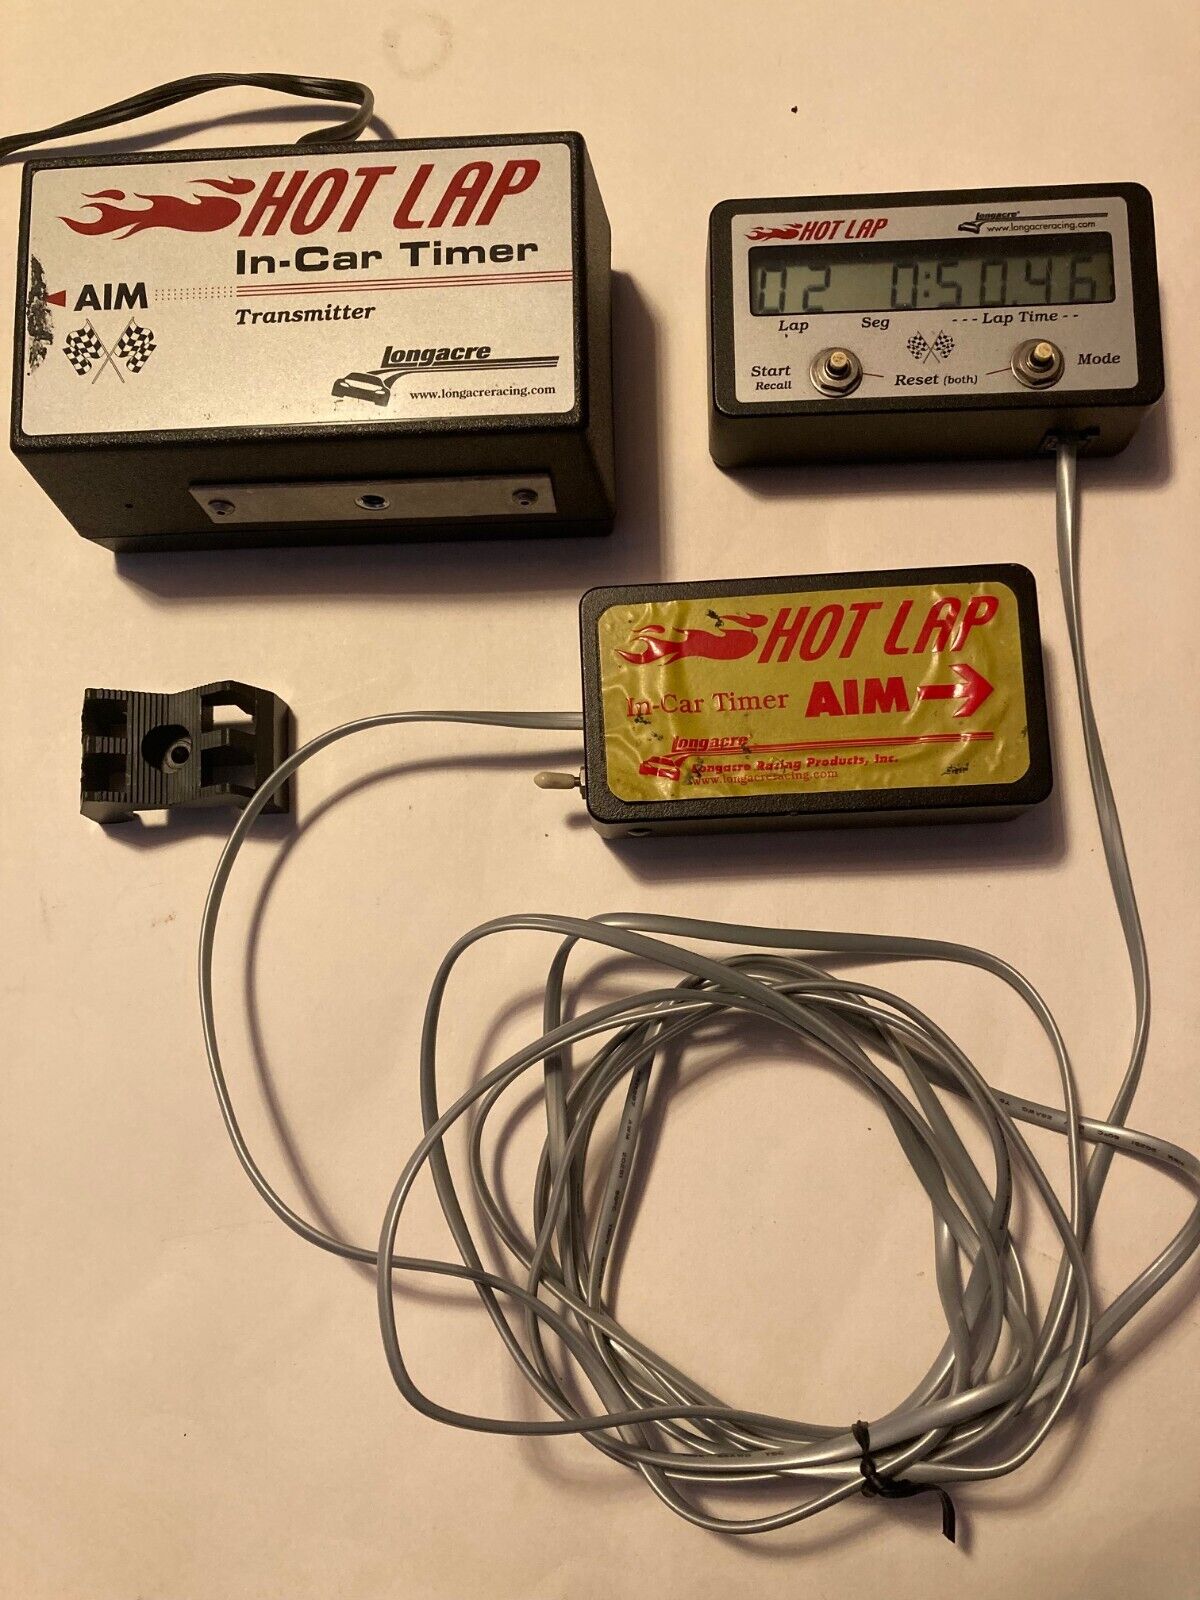
Hot Lap In-Car Timer Kit (transmitter, receiver, and display)
$ 19
- Description
- Size Guide
Description
I bought this Hot Lap Timer kit brand new, and used it for a few years in my race car. I mounted the receiver using Velcro to plates welded on the roll bar to the left and right sides of the car, so I could easily switch the receiver from side to side as some tracks have the track to the right of the pit lane while others have it to the left.The kit includes:
Transmitter:
(Model 21628) An infrared flashlight that stands at the side of the track and shines a beam across the track for the entire race.
This is the double range transmitter with 120-foot range. A 5-foot cord with battery clips to attach to a 12-volt car or motorcycle battery, etc.
Receiver:
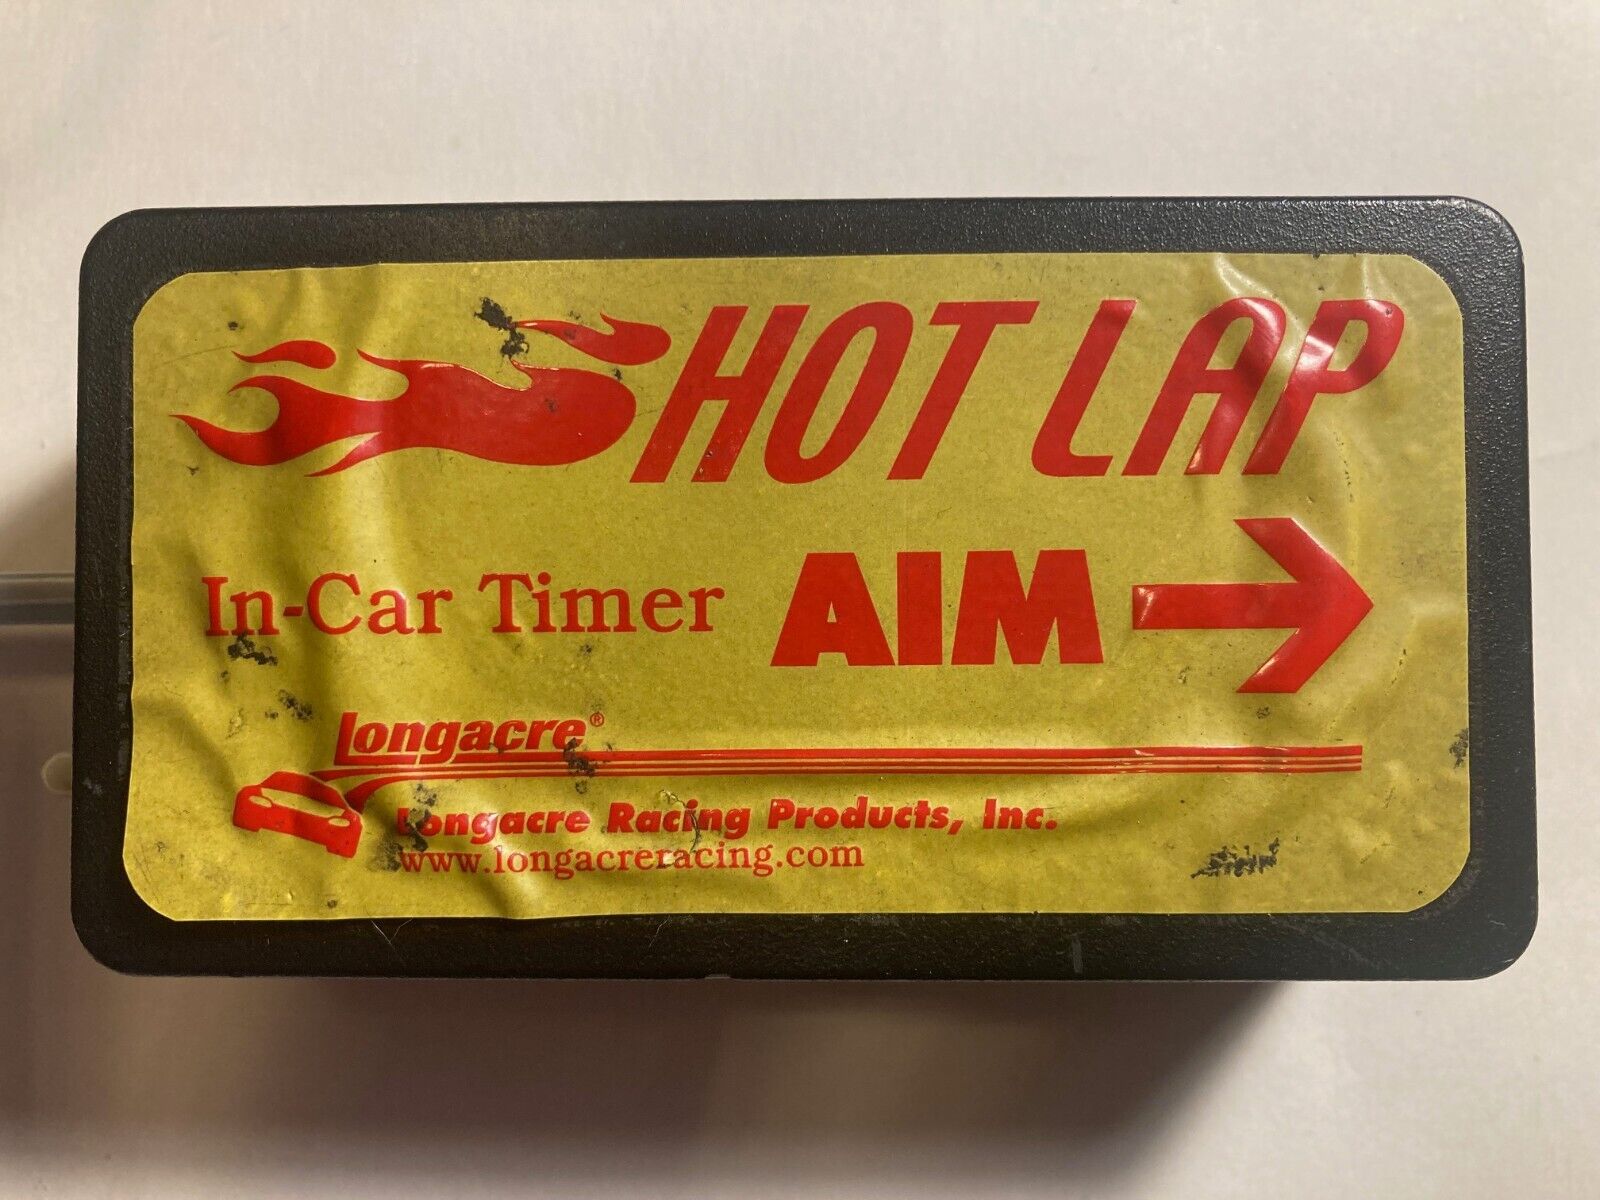
(Model 21611) A small metal box that mounts in the car in plain view of and facing the transmitter. Usually mounted to the roll bar.
A plastic V-block is included to mount to a roll bar, but I used Velcro tape to attach the receiver to a plate welded onto the roll bar. The receiver has a 9V battery inside that powers the receiver and display.
Display:
(Model 21618)
Memory capacity:
60 laps, then accepts no more data until cleared.
Lap times:
5 seconds minimum to 5 minutes maximum.
Cable
:
I included one 12’ long 4-conductor telephone type cable (that connects from the receiver to the display), but if you run on tracks requiring the transmitter to be on both the left and right of the track, then you can buy a standard 4-conductor telephone type cable, but you will need to cut off one connector and add on a RJ-11 connector making sure to follow the following per Longacre’s instructions:
Hot lap cables are wired differently from standard phone cables. Hold the two connectors side by side with the plastic clip toward you, and look at the color of the wires. The color sequence must be the same on both ends
.
The system will not work with reversed wires as it will short out the 9-volt battery and the display will show 5 second laps, over and over.
DISPLAY OPERATION
A switch is on the 21611 receiver. Turn the unit on in the pits before the event to make sure it is operational. When the display is first powered up and there are no laps in memory, the display will show 8 dashes "--------." This indicates that the display is ready to begin timing. Replace the 9-volt battery if the voltage falls below 7.5 volts, as readings may become inconsistent.
The START and MODE pushbuttons have four functions:
Review recorded lap times
Verify system alignment
Display a free running stopwatch
Clear the display and memory
These functions are described as follows:
To review recorded times (P1):
Hold the MODE button until P1 appears on the display (~2 seconds). Press and release the START button to display lap 01 and its time. The 01 replaces P1 and blinks to indicate the system is reviewing. Use the START button to cycle through the recorded laps. If the START button is held, the user can quickly cycle through all recorded laps.
To verify system alignment (P2):
The Cal mode allows the user to verify alignment of the transmitter and receiver. To access this mode, hold the MODE button until P1 appears. Release the MODE button and press it again quickly. P2 replaces P1 on the display. Now press START and CAL---- appears on the display. Aim the transmitter at the receiver and a 0 appears after the last dash. As long as the 0 is there, the receiver is seeing the transmitter. This is useful to check height adjustment or check to see if the range is sufficient. To return to normal operation, press the MODE button. The Cal mode cannot be accessed unless the receiver can see the signal at least once.
To display a free running stopwatch:
While driving, press START after the lap signal has been received. The user will see a running stopwatch display of the lap time. The next lap signal will return the display to its normal state. START must be pressed during each lap to see the running stopwatch.
To clear the display and reset the memory:
Hold down both START and MODE buttons for 2 seconds. This will clear all laps from memory and reset the display for recording the next timing session. The display will start recording lap times after the next signal is received. It is a good idea to clear the unit on pre-grid just before the start of a race.
When the display unit is first cleared, it shows all dashes (--------) until the first lap signal is received. When the car cuts the beam, the display changes to all zeros (00 0:00:00). This normally would be shown on the pace lap. After the second lap signal is received, and from then on, the display shows the number and time for the lap just completed.
Full info is listed at:
https://www.longacreracing.com/instructions/text/hotlap_datasheet_p.html


